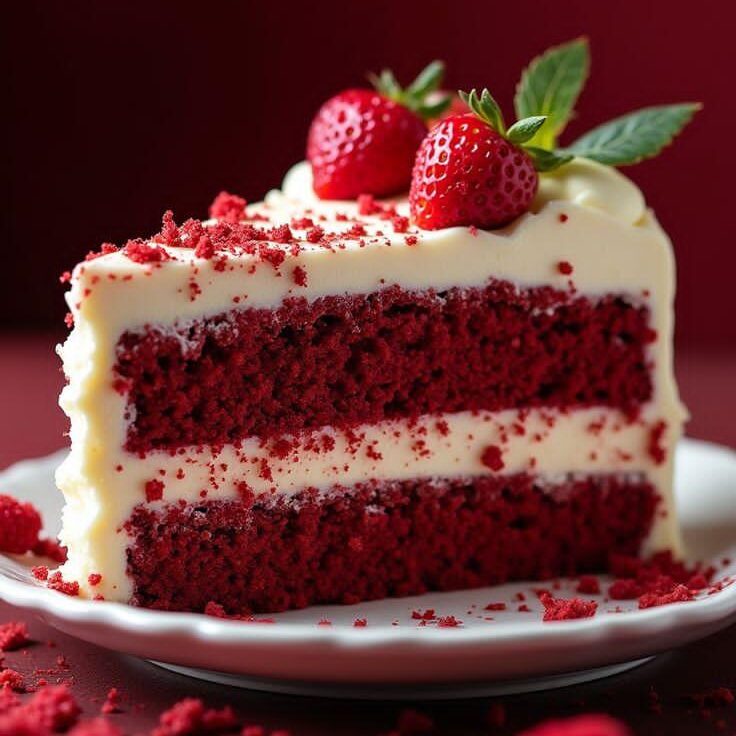
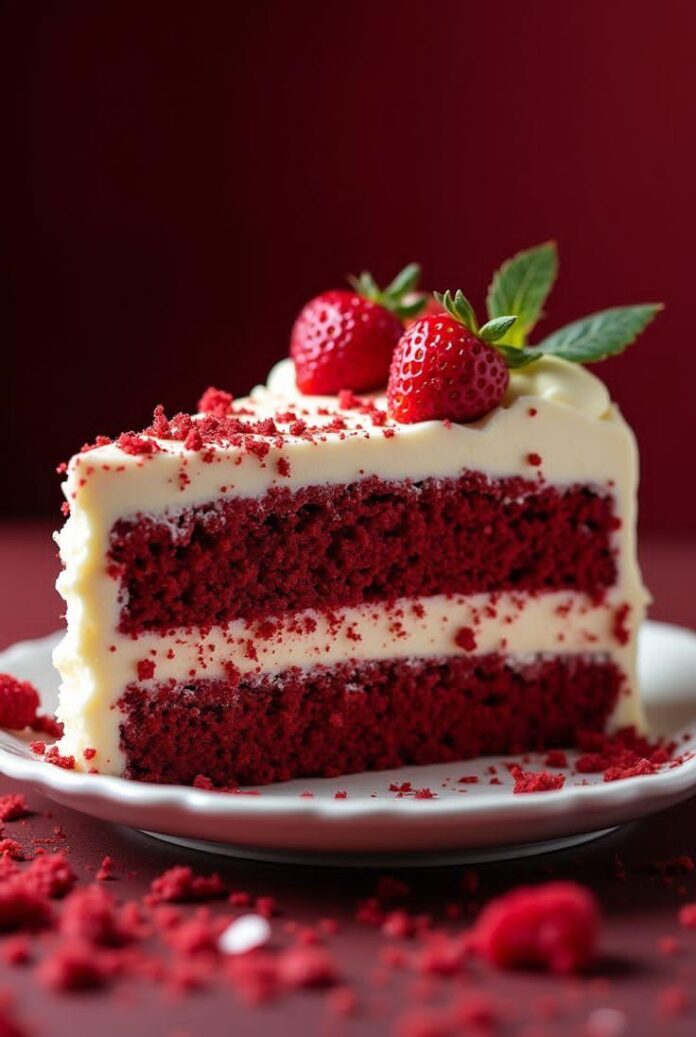
Red Velvet Cake is the ultimate decadent dessert that balances soft, tender layers with rich frosting. Red Velvet Cake is best for celebrations and sugar desires.
Table of Contents
Red Velvet Cake – A Beloved Classic Dessert Throughout the World
Few cakes have the charm, sophistication, and unadulterated indulgence of a Red Velvet Cake. Its bold red color, soft crumb, and buttery frosting make it a worldwide favorite for birthdays, weddings, and holiday celebrations. Red Velvet Cake is distinguishable from other cakes not only in its taste but also in its sumptuous looks, which make it a showstopper at any gathering.
In this article, we’ll delve into the history, how to prepare, step-by-step recipe, pro tips, and variations of this classic dessert. Whether you are an amateur baker or a professional, you will have everything you need to bake the ideal Red Velvet Cake at home.
What Makes Red Velvet Cake Special?
The secret of Red Velvet Cake is the combination of buttermilk, cocoa, vinegar, and food coloring that it contains. The combination provides the cake with its tender crumb and delicate cocoa flavor offset by tanginess. The frosting — classic cream cheese frosting — contributes a rich, velvety finish that beautifully complements the moist layers.

Preparation & Cooking Details
Preparation Time: 20 minutes
Cooking Time: 30 minutes
Frosting & Assembly: 20 minutes
Total Time: ~70 minutes
Serving Size: 8–10 slices
Ingredients
For the Cake:
2 ½ cups all-purpose flour
1 ½ cups sugar
1 tsp baking soda
1 tsp cocoa
1 tsp salt
2 large eggs
1 ½ cups vegetable oil
1 cup buttermilk
2 tbsp red food coloring (liquid or gel)
1 tsp vanilla extract
1 tsp white vinegar
For the Cream Cheese Frosting:
500 g cream cheese, softened
1 cup unsalted butter, softened
4 cups powdered sugar
2 tsp vanilla extract
Step-by-Step Recipe
Step 1: Preheat the Dry Ingredients
In a big bowl, sift flour, cocoa powder, baking soda, and salt. Doing so ensures a light and fluffy texture in your cake.
Step 2: Whisk the Wet Ingredients
In another mixing bowl, whisk eggs, oil, buttermilk, vinegar, vanilla extract, and red food coloring. Beat until well-combined and smooth.
Step 3: Mix Wet & Dry IngredientsSlowly add the dry ingredients into the liquid ingredients, gently folding. Don’t overmix, as this will cause the cake to be heavy.
Step 4: Bake the Cake
Preheat oven to 175°C (350°F). Grease and flour two 9-inch round cake pans. Fill the pans equally and bake 28–32 minutes. Insert a toothpick; if clean, the cakes are ready.
Step 5: Cool the Cake
Let the cakes cool to room temperature on a wire rack before frosting. A warm cake will melt the frosting and spoil the texture.
Step 6: Prepare the Cream Cheese Frosting
Beat cream cheese and butter until smooth. Add powdered sugar and vanilla extract gradually, beating until fluffy and smooth.
Step 7: Assemble the Cake
Put one layer of cake on a plate, and put a thick layer of frosting, and then put the second layer of cake on top. Frost the whole cake with frosting and top it with cake crumbs or sprinkles.
Pro Tips for Making the Best Red Velvet Cake
Use buttermilk: It provides tanginess and prevents the cake from drying out.
Don’t overmix: There is too much mixing, which makes the cake hard.
Use gel food coloring: It produces a bright red color without imparting flavor.
Chill before slicing: Chill the cake for 30 minutes before serving to have cleaner slices.
Variations of Red Velvet Cake
Red Velvet Cupcakes: Ideal for parties and individual servings.
Eggless Red Velvet Cake: Replace eggs with yogurt or vinegar + baking soda.
Layered Celebration Cake: Include 3–4 thin layers for a classy appearance.
Red Velvet Cheesecake: Merge the decadence of cheesecake with traditional red velvet taste.
Why Red Velvet Cake Is Ideal for Celebrations
Red Velvet Cake is more than a dessert — it’s an experience. Red is the color of love and passion, so it’s a popular choice for weddings, Valentine’s Day, and anniversaries. Its rich flavor guarantees it takes center stage over other cakes in any celebration.
Storage & Serving Suggestions
Store the cake in an airtight container in the refrigerator for 5 days at most.
Bring to room temperature before serving to experience the best flavor and texture.
Serve with coffee, tea, or even a glass of milk for a ultimate indulgence.
For more such tasty easy (Breakfast, Main-Course, Snacks and Cakes and Desserts recipes) check out our Recipes Page
Share with your loved once search us on Google with Recipes.shaikh digital studio
“Made one of our recipes? Tag us @recipes_shaikhdigitalstudio We love featuring your kitchen magic!”📸 Follow us on Instagram and Facebook for Reels, Tips, and Tasty Vibes!


